Apologies for the lengthy intermission between posts; balancing work, life, and after-hours photoshoots seems to be getting the better of me. On the bright side, I'll use this as a good opportunity to recalibrate and re-dedicate myself to writing again. I was not really sure how this journal would pan out. I initially intended for this to be a forum to discuss the creative process, share ideas, and talk about food. To some extent, it has achieved that somewhat vague goal. Perhaps the only certainty I knew was that I did not want this to become more noise in an endless amount of online photography guides, or, another personality-lacking ChatGPT contribution.
A good place to start is where I left off. Late last year, I reflected on how embracing external light sources has significantly accelerated my creative development. However, I want to share some of my learnings prior to 'seeing the light', so to speak. Imagine you have just sat down in a beautiful restaurant with a darkened interior or got your drink at a moody wine bar, and you want to capture the moment? By the end of this article, I hope that you have another tool, or two, to shoot these types of scenes.
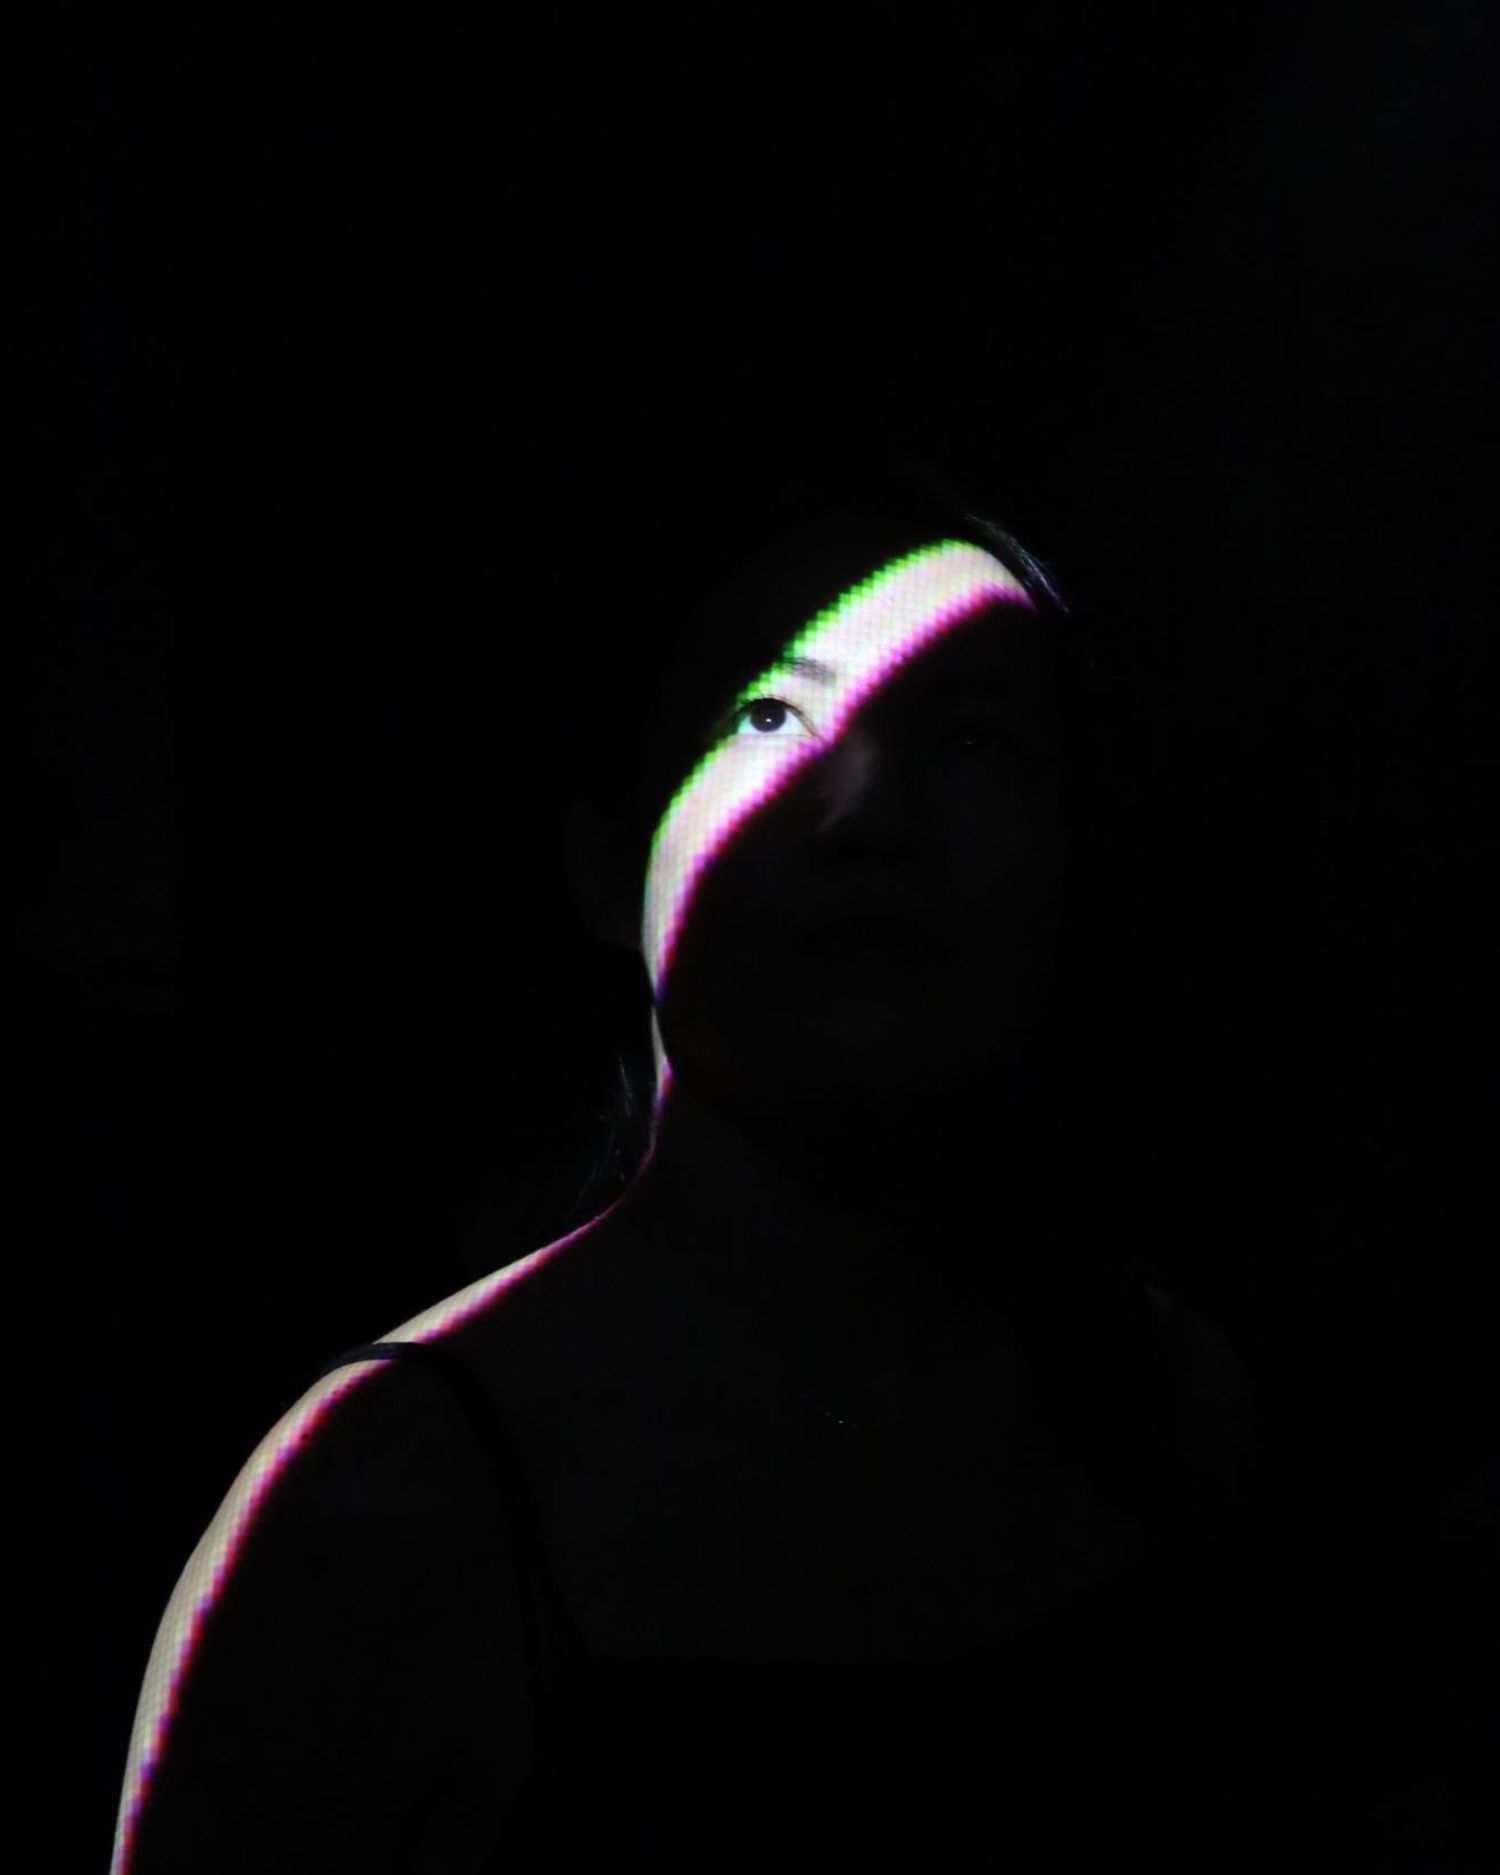
To illustrate my points, I recall a set of impromptu portraits while exploring an immersive installation at the Gallery of Modern Art (QAGOMA), titled Crossing 2016. Picture yourself in a darkened room, with two shafts of light piercing through a smoke screen. I guess there is no better place to practise low-light photography than in a pitch-black room. After multiple failed attempts to capture the room, I very quickly realized that I needed to change my plan.
The first lesson - when light is unavailable, you have to narrow your focus. Both literally and figuratively. To get a semi-decent shot, I needed to find the little light that was available and craft my composition to exploit that. This concept also applies to any situation where light is limited - a dimly-lit restaurant, for example. Look for table lighting, down-lights, or even walls to capture stray light. In most of these cases, reflected or bounced light is your friend. Be careful, though; while it may be tempting to use a phone light, the proximity and harshness of the white light often overpowers the scene. The takeaway here: focus on details and exploit available light. Remember: a wide, flat-lay shot of the whole table -- out. Close-up, detailed shots -- in.
Now, let's get into the nitty-gritty. If you're aiming for clarity with minimal noise, start by adjusting the aperture setting. From a technical perspective, this controls the size of the opening in the lens, affecting the amount of light hitting the sensor, denoted by the f-number. But what does this mean practically? Opting for a wide aperture (lower f-stop) allows more light into the sensor, enabling you to maintain a lower ISO and achieve a shallow depth of field. Basically, the setting responsible for that lush bokeh effect seen in iPhone portrait and cinematic modes.
Next up, and closely tied to aperture, is ISO, which measures the sensor's sensitivity to light. If a wide aperture alone doesn't provide the desired exposure, you can try increasing the ISO setting. It's crucial to balance the ISO level; too little, and you will sacrifice detail; too high, and you will start to introduce excessive noise. That said, grainy film-like images seem to be in vogue at the moment, so I'll leave this up to your creative intuition.
If the above is not providing the desired result, then it's time to start applying artistic license. At this point, begin slowing down your shutter speed. This determines how long the shutter remains open to allow light to reach the sensor. A slower shutter speed lets more light in, brightening the image and can introduce a blur effect for added aesthetic. In my example, I asked my model to stay still while I 'dragged' my camera away to control the motion. Alternatively, you can ask your subject to move. Depending on the scene, I like to introduce a little motion blur when capturing evening dining scenes. Perfect for communicating the energy of an event as opposed to freezing everyone in time. One caveat, using a slow shutter speed requires careful adjustment of other settings to prevent overexposure and maintain image clarity.
Whether you are shooting with a DSLR, digital camera, or your iPhone, I hope this article provides you with some valuable tips. I'll keep an eye out to see what you shoot in the dark.

